 Pin it
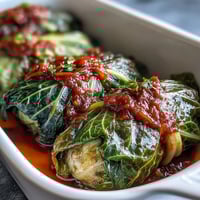
 The first time I watched a blooming onion emerge from a paper bag at a steakhouse, I actually laughed out loud. It looked like someone had discovered a new species of flower, except this one smelled like fried perfection and came with a side of spicy sauce. My friends and I spent the next twenty minutes pulling apart petals, debating who got the center piece, and somehow making conversation through the crunch. That memory stuck with me so vividly that I spent months experimenting in my tiny apartment kitchen until I finally cracked the code at home. Now it is become my go-to party trick whenever I want to make people gasp before they even take a bite.
I made this for my dad on his birthday once, and he stood in the kitchen doorway just watching the fryer, asking questions about the oil temperature and the cutting technique like he was interviewing me for a cooking show. When it came out golden and gorgeous, he grabbed the tongs from my hand and said he needed to be the one to transfer it to the serving plate. We spent the rest of the evening pulling apart petals and debating whether the crispy tips or the tender centers were better. Now he requests it every time he visits, and I have learned to make two because leftovers never survive the night.
Ingredients
- 1 large sweet onion: Vidalia onions are my absolute favorite because their natural sweetness balances the savory spices, but any sweet onion will work beautifully
- 2 1/2 cups all-purpose flour: This creates the foundation for your crispy coating, and I learned the hard way that measuring precisely matters more than you might think
- 2 teaspoons paprika: Adds that gorgeous red color and a subtle smoky flavor that makes people wonder what your secret ingredient is
- 1 teaspoon garlic powder: Garlic powder works better than fresh garlic here because it distributes evenly without burning in the hot oil
- 1 teaspoon dried oregano: Gives the coating a classic herb flavor that reminds everyone of their favorite restaurant appetizer
- 1 teaspoon salt: Essential for bringing out all the flavors, and I always sprinkle a little extra on right after frying while the oil is still glistening
- 1/2 teaspoon ground black pepper: Freshly cracked pepper adds a little bite that cuts through the richness of the fried coating
- 1/2 teaspoon cayenne pepper: This provides just enough warmth to make things interesting without overwhelming anyone who is sensitive to heat
- 2 large eggs: These help the flour mixture adhere to all those tricky nooks and crannies between the onion petals
- 1 cup whole milk: Creates a rich egg wash that sticks better than water-based alternatives and adds a nice subtle sweetness
- Vegetable oil: You need enough oil to completely submerge the onion, so do not be shy about filling your pot at least three inches deep
- 1/2 cup mayonnaise: Forms the creamy base for the dipping sauce, and I use real mayo because it holds up better than light versions
- 2 tablespoons sour cream: Adds tang and makes the sauce incredibly smooth and luxurious
- 1 tablespoon ketchup: Provides just a touch of sweetness and helps balance the heat from the spices
- 1 teaspoon prepared horseradish: This is the secret ingredient that makes the sauce sing, so do not skip it even if you think you do not like horseradish
- 1/2 teaspoon smoked paprika: Adds a lovely smoky depth that makes the sauce taste restaurant-quality
- 1/2 teaspoon garlic powder: Mirrors the garlic in the coating and ties everything together beautifully
- 1/4 teaspoon cayenne pepper: Just a tiny kick in the sauce to complement the heat in the coating
- Salt and black pepper: Season to taste, remembering that the sauce needs to be bold enough to stand up to that crispy onion
Tired of Takeout? 🥡
Get 10 meals you can make faster than delivery arrives. Seriously.
One email. No spam. Unsubscribe anytime.
Instructions
- Whisk together the dipping sauce first:
- In a small bowl, combine the mayonnaise, sour cream, ketchup, horseradish, smoked paprika, garlic powder, cayenne pepper, and salt and pepper to taste. Pop it in the refrigerator to let the flavors meld while you work on the onion.
- Master the onion cutting technique:
- Peel your onion and slice about half an inch off the top, but keep that root end absolutely intact because it is what holds everything together. Place the onion cut-side down on your cutting board and starting about half an inch from the root, make careful downward cuts all around to create twelve to sixteen sections. Turn the onion over and gently separate those petals with your fingers.
- Mix your seasoned flour:
- In a large bowl, whisk together the flour, paprika, garlic powder, oregano, salt, black pepper, and cayenne pepper until everything is evenly distributed.
- Prepare the egg wash:
- In a separate bowl, beat the eggs with the milk until the mixture is smooth and completely combined.
- First flour coating:
- Dredge the onion in the flour mixture, taking your time to work the flour between every single petal. Shake off any excess flour gently.
- Egg bath:
- Dip the flour-coated onion into the egg mixture, again making sure the liquid gets into all those crevices between the petals.
- Second flour coating:
- Coat the onion again in the flour mixture, pressing lightly to help it adhere. Shake off excess once more, because too much coating will make the onion heavy and greasy.
- Heat your oil:
- Pour at least three inches of vegetable oil into a deep pot or fryer and bring it to 375 degrees Fahrenheit. I use a kitchen thermometer because getting the temperature right makes all the difference between perfectly crispy and sadly soggy.
- Fry to golden perfection:
- Carefully lower the onion cut-side down into the hot oil using a slotted spoon or spider. Fry for six to eight minutes, turning occasionally, until it is golden brown and crispy all over.
- Finish and serve:
- Remove the onion from the oil and let it drain on paper towels. Give it a light sprinkle of salt while it is still hot and serve immediately with that creamy dipping sauce you made earlier.
 Pin it
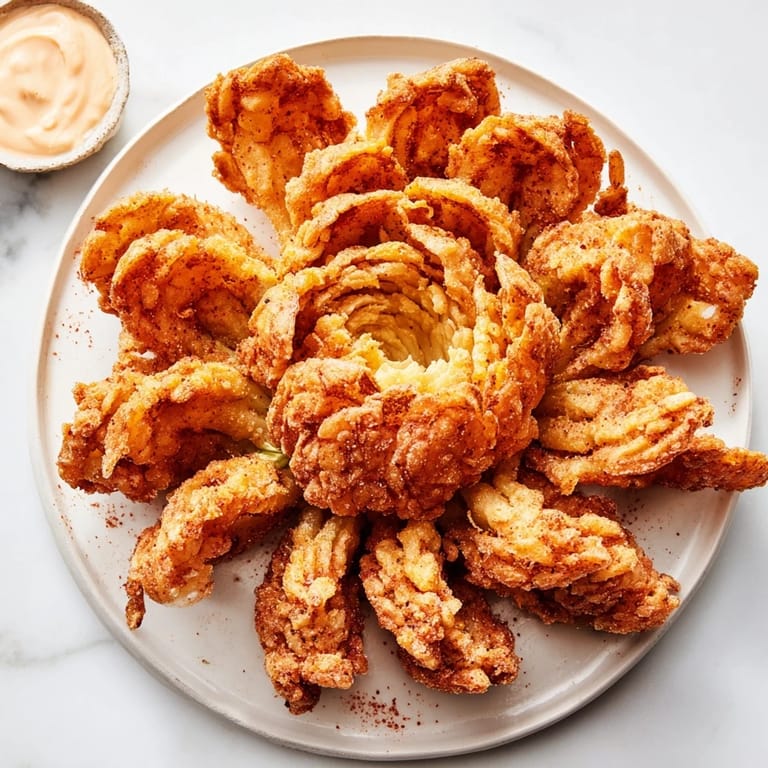
 My sister hosted a game night last month and requested I bring the blooming onion, and honestly it became the main event instead of just an appetizer. People were hovering around it like it was a sacred artifact, and someone actually started a debate about which petal shape was the most desirable to eat. The best part was watching my usually reserved neighbor get so excited about pulling apart the layers that she forgot about being shy and started directing traffic around the serving plate. Sometimes food is not just about sustenance, it is about giving people something to gather around and smile about.
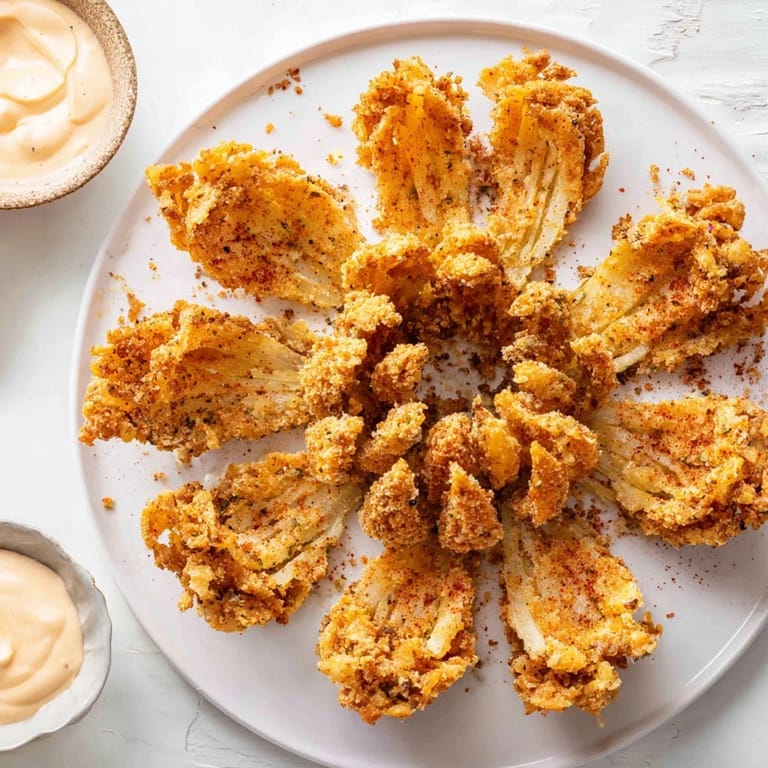
Getting That Perfect Bloom
The cutting technique intimidated me for years until I realized it is actually quite forgiving as long as you do not cut through that root end. I take my time making the first set of cuts, then rotate the onion and make perpendicular cuts to create those classic petal shapes. If a few petals break off during the process, do not stress about it because they still fry up beautifully and taste just as delicious.
Oil Temperature Secrets
After dozens of batches, I have learned that oil temperature is the difference between a crispy masterpiece and a soggy disappointment. I invested in a good digital kitchen thermometer and it has paid off tremendously. When the oil is too hot, the coating burns before the onion cooks through, but when it is too cool, you end up with greasy petals that fall apart.
Make It Your Own
While the classic version is pretty perfect, I have discovered some fun variations over the years. Sometimes I add extra cayenne to the flour when I am cooking for spice lovers, or I swap in smoked salt for a deeper flavor profile.
- Try adding a teaspoon of onion powder to the flour mixture for an even more intense onion flavor
- A splash of hot sauce in the dipping sauce creates a nice spicy kick that some people absolutely love
- If you want to go extra fancy, sprinkle some grated parmesan over the onion immediately after frying while it is still hot
 Pin it
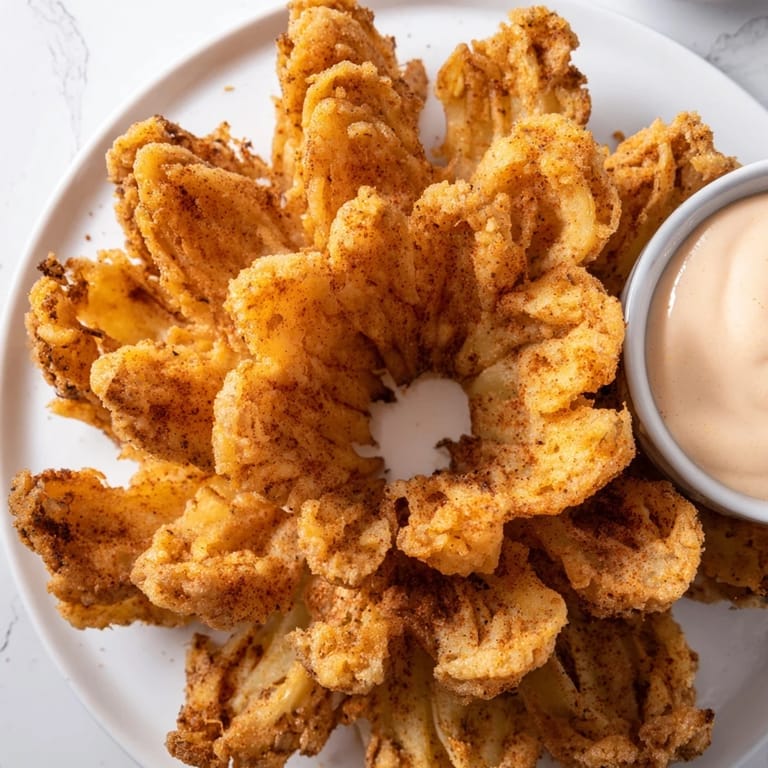
 There is something deeply satisfying about pulling apart that first petal and hearing everyone around the table lean in with anticipation. Hope this recipe brings as much joy to your kitchen as it has to mine over the years.
Questions & Answers
- → What type of onion works best for blooming onions?
Large sweet onions like Vidalia are ideal for their size and mild sweetness, making it easier to create petals and enjoy a balanced flavor.
- → How can I ensure the batter sticks well to the onion petals?
Coat the onion by alternating between the seasoned flour blend and egg-milk mixture, allowing the batter to adhere nicely between each petal.
- → What temperature should the oil be for frying?
Heat vegetable oil to 375°F (190°C) to achieve a crispy golden crust while cooking the onion thoroughly without absorbing excess oil.
- → Can I prepare the dipping sauce ahead of time?
Yes, whisk the sauce ingredients together and refrigerate until serving; flavors meld well when chilled, enhancing the dipping experience.
- → How do I cut the onion to create the blooming effect?
Trim the top, keep the root intact, then carefully slice downward around the onion to form 12–16 petal sections, separating them gently before battering.