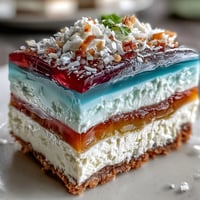
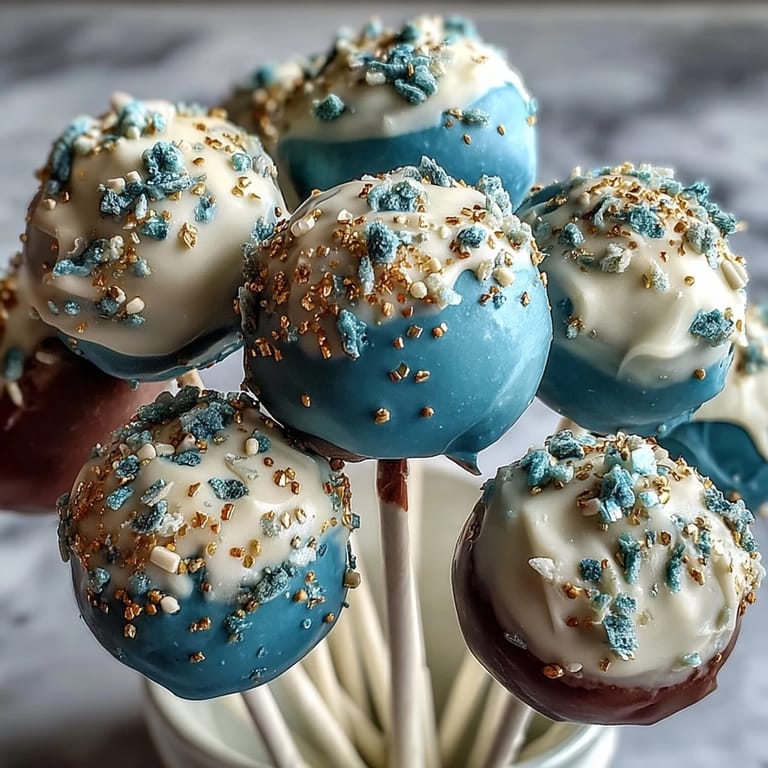
 Pin it
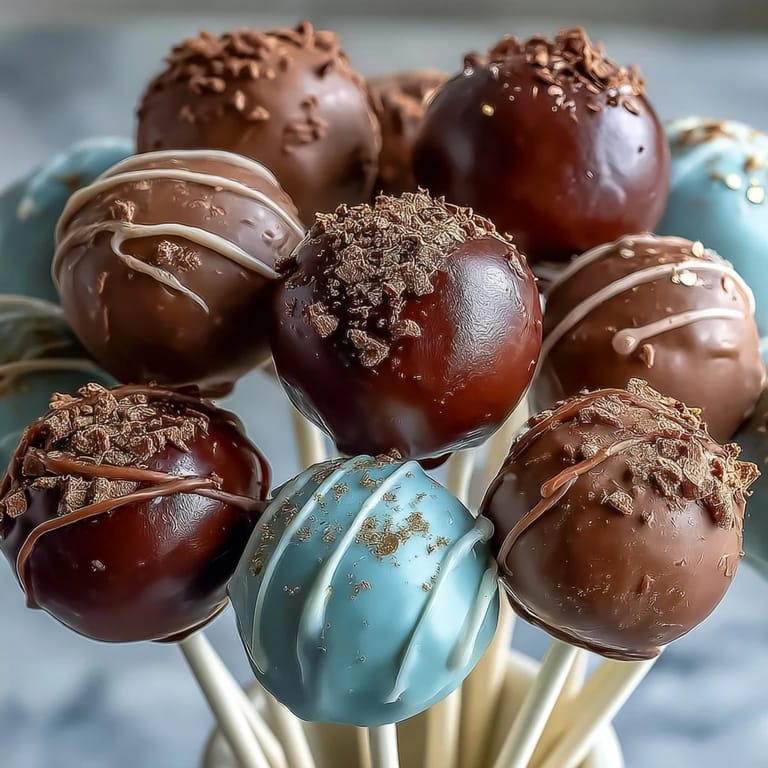
 Last spring, my cousin called me in a panic—she had exactly one week to make something special for her graduation party, and Pinterest wasn't cutting it. We ended up in my kitchen at midnight, laughing as colorful candy melts splattered everywhere, turning what should have been stressful into pure magic. That's when I realized cake pops weren't just dessert; they were tiny edible confetti, each one a celebration wrapped in your school colors. Now whenever someone graduates, these little gems are my go-to gift because they taste as good as they look.
I made these for my best friend's graduation open house, and watching her face light up when she saw the tower of pops in her school colors was worth every sticky finger and melted chocolate moment. Her little brother immediately grabbed three, and suddenly I was the cool aunt who made the best thing at the party. That's the power of a thoughtful dessert—it becomes part of the memory.
Ingredients
- 1 box vanilla or chocolate cake mix: This shortcut is a game changer—it takes the guesswork out of baking while giving you a tender crumb that holds together beautifully when mixed with frosting.
- 1/2 cup unsalted butter, softened: Softness is everything here; if it's even slightly cold, your frosting will end up grainy and won't bind the cake properly.
- 1 1/2 cups powdered sugar: The delicate sugar dissolves smoothly and creates that silky frosting texture that coats the cake crumbles evenly.
- 1 tablespoon milk: Just enough moisture to loosen the frosting without making it runny—this is your control knob for the right consistency.
- 1 teaspoon vanilla extract: A small amount that somehow makes the frosting taste less sweet and more sophisticated.
- Pinch of salt: Trust me, this tiny pinch balances everything and makes people wonder what your secret ingredient is.
- 450 g candy melts in two school colors: These melt like butter and dry quickly, but buy slightly more than you think you'll need because the first batch is always experimental.
- 2 tablespoons vegetable shortening or coconut oil: This is optional but not really—it keeps the candy coating from being chalky and gives you that glossy finish that makes people stop and stare.
- Gold sprinkles or edible gold glitter: The moment the gold hits wet candy, your cake pops transform from nice to breathtaking.
- 24 lollipop sticks: Buy a few extras because some always get bent or accidentally taste-tested early.
- Styrofoam block: Your vertical drying station that saves counter space and creates that picture-perfect presentation.
Tired of Takeout? 🥡
Get 10 meals you can make faster than delivery arrives. Seriously.
One email. No spam. Unsubscribe anytime.
Instructions
- Bake the cake and let it cool completely:
- Follow the box directions and don't skip the cooling step—warm cake turns to mush when you try to crumble it. I learned this the hard way and ended up with frosting soup.
- Whip the frosting until it's cloud-like:
- Beat the softened butter for a full minute until it's pale and fluffy, then gradually add the powdered sugar while mixing. This airiness matters because it helps the crumbles bind without compacting into dense balls.
- Crumble and combine:
- Break the cooled cake into small crumbles—think breadcrumb size—then fold in the frosting a bit at a time until the mixture just barely holds together. If it's too wet, the cake pops collapse during dipping.
- Roll into uniform balls:
- Use a tablespoon measure or small ice cream scoop to keep them consistent, then place each one on parchment paper. Uniform size means they cook and coat evenly, which is the difference between professional-looking and homemade-looking.
- Chill until firm:
- Pop them in the fridge for at least an hour or the freezer for thirty minutes—this firmness is crucial because a soft cake ball will slip off the stick mid-dip. I once skipped this and watched three pops plunge into melted chocolate like tiny edible Titanic moments.
- Anchor the sticks with melted candy:
- Dip the stick tip into melted candy coating and push it halfway into each ball, holding it steady for a few seconds. This little step prevents the embarrassing pop-off-the-stick moment mid-celebration.
- Dip into your school color:
- Make sure the candy is smooth—add that shortening if you have it—then dip each pop quickly and tap off the excess. A two-second dip gives you a clean coat without that thick, waxy layer.
- Add the gold while it's wet:
- Sprinkle immediately because once the candy hardens, the gold won't stick. This is your moment to be generous—more gold always looks better.
- Set upright in Styrofoam:
- The vertical position gives gravity a chance to help shape them and keeps them from sticking to your counter. They harden completely in about thirty minutes, but patience rewards you with crisp, snappy shells.
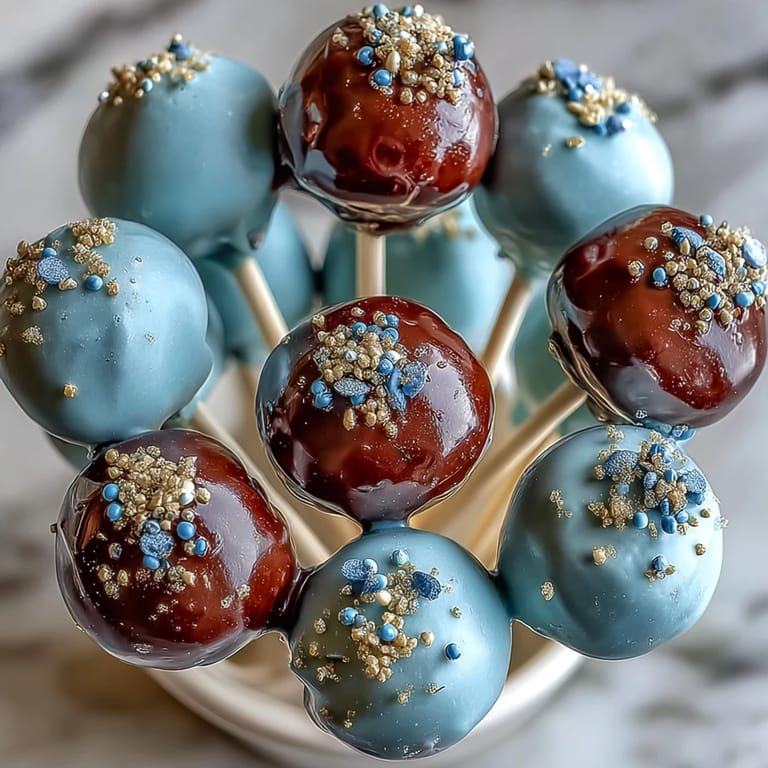
 Pin it
 There's something about handing someone a cake pop in their school colors that feels like a small ceremony in itself—like you're acknowledging something real happened, something they accomplished. My cousin still talks about those pops, not because they were the best dessert she ever had, but because someone spent time thinking about her specifically.
Flavor Variations That Work
Chocolate cake mix with vanilla frosting creates a sophisticated contrast that feels more grown-up than you'd expect from something so whimsical. Funfetti cake is the obvious fun choice and actually looks better when you add those gold sprinkles because the colored sprinkles inside show through the candy coating. Once I tried a lemon cake base with cream cheese frosting, and the brightness of it seemed perfect for spring graduations—it tasted like optimism somehow.
Decorating Beyond Gold
If your school colors don't photograph well together, use one color for the base and the other only on half of each pop, creating a clever stripe effect. Edible pearls in your school colors add dimension that photographs beautifully, and tiny ribbon bows tied around each stick turn them into gifts before anyone even opens a box. I once drizzled contrasting candy coating in thin lines over the base color—it felt fancy but took maybe thirty extra seconds.
Making Them Last and Storing Smart
Room temperature storage works perfectly for up to three days, but if your kitchen runs warm or it's summer, the fridge keeps them fresh and firms them up nicely. The coating actually stays snappier when refrigerated, which makes that satisfying bite-through moment even more rewarding. Layer them in an airtight container with parchment paper between rows so they don't stick to each other or get smudged.
- Make these up to five days ahead—they're actually better when the flavors have time to settle and meld together.
- If you're shipping them, wrap each one individually in cellophane and pack them tightly so they don't shift around.
- These freeze beautifully for up to two weeks, so you can make them well before graduation season hits and you're suddenly swamped with requests.
 Pin it
 These cake pops have a way of turning a celebration into something tangible and shareable—you're literally giving people edible memories. Make them with intention, celebrate the person they're for, and watch how something so small becomes unforgettable.
Questions & Answers
- → How do I ensure the cake balls hold together?
Use enough frosting to bind the crumbled cake, starting with half a cup and adding more if needed, until the mixture is moist but not too wet.
- → What is the best way to melt candy melts for dipping?
Melt candy melts gently in microwave-safe bowls, stirring every 30 seconds. Adding a little vegetable shortening can help achieve a smoother coating.
- → How do I keep the cake pops from falling off the sticks?
Dip the stick ends into melted candy melts before inserting them halfway into each cake ball, which helps secure the stick firmly.
- → Can I customize the colors of the coating?
Yes, use candy melts in any color you like, especially those matching your school colors, for personalized decoration.
- → How should cake pops be stored after preparation?
Store cake pops in an airtight container at room temperature for up to 3 days or refrigerate for up to one week to keep them fresh.