 Pin it
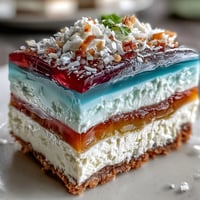
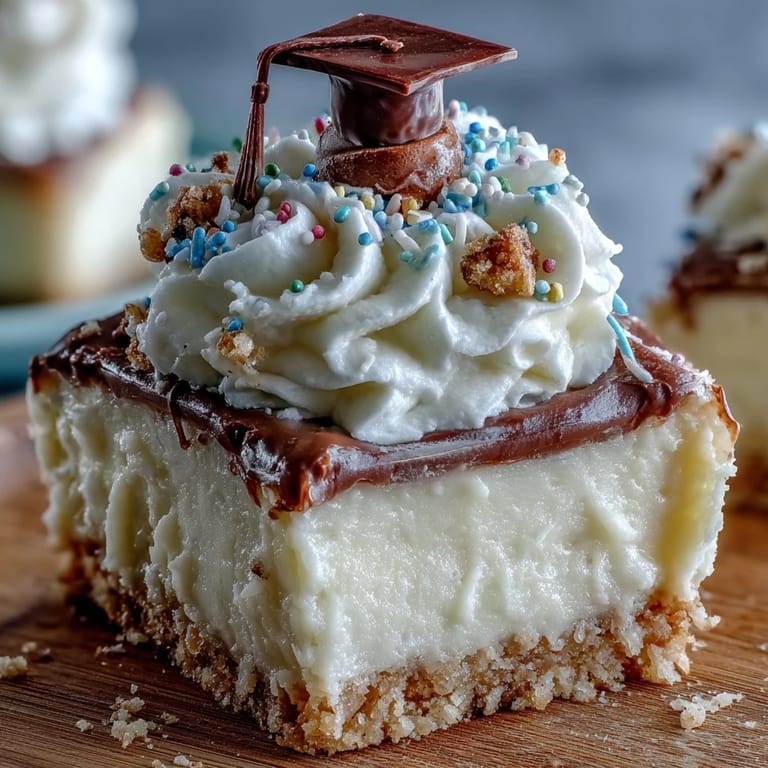
 There was a crackle of laughter in the kitchen as I balanced a tray of miniature cheesecake bites, each one topped with a sprinkle of edible confetti. The sun filtered in, glinting off the mixing bowl, and the anxious buzz of last-minute celebration prep faded as these creamy bite-sized desserts came together faster than the tassels could be straightened. The best part was that unmistakable scent: rich creaminess layered over warm, crisped butter graham crust. Who knew graduation could actually taste like a treat you’d want to sneak before the ceremony?
I remember scrambling to tie tiny licorice tassels on chocolate squares just minutes before my cousin’s graduation gathering, the cheesecakes cooling by the window as my niece licked the last bit of batter off the beaters. Dad offered unsolicited ‘taste tests’ in the background, and suddenly what began as a simple dessert project turned into a kitchen comedy act.
Ingredients
- Graham cracker crumbs: The base is all about sandy, slightly sweet crunch; don’t skip the step of pressing them firmly into the liners or the crusts won’t hold together.
- Granulated sugar: Blending this into both crust and filling creates that classic, gentle sweetness—taste before you start spooning just in case your sweet tooth wants a little extra.
- Unsalted butter: Melt it gently—not sizzling—to perfectly glue the crumbs into a cohesive crust layer.
- Cream cheese: The star ingredient; let it soften completely so your filling stays lump-free and ultra creamy.
- Eggs: Crack them in one at a time to keep the batter smooth—no streaks, just silky cheesecake.
- Pure vanilla extract: A little goes a long way to add warmth and depth to these mini bites.
- Sour cream: This bit of tang is what gives the filling that irresistibly plush texture.
- Pinch of salt: Don’t underestimate this—it’s the subtle push that wakes up all the other flavors in every bite.
- Whipped cream and festive toppings: These are where you get to play—sprinkles, homemade chocolate caps, or just fresh berries instantly create a party mood.
Tired of Takeout? 🥡
Get 10 meals you can make faster than delivery arrives. Seriously.
One email. No spam. Unsubscribe anytime.
Instructions
- Prep your pan:
- Preheat your oven and line your mini muffin tin with paper liners—the anticipation gets real as you arrange them in neat rows.
- Build the crust:
- Stir together the graham crumbs, sugar, and melted butter until it feels like damp sand; firmly press about a tablespoon into each liner, aiming for flat and even (a small measuring spoon makes this weirdly fun).
- Bake and cool:
- Give the pan just five minutes in the oven—an irresistible toasty smell will tell you they’re ready; let them cool briefly before you move on.
- Make the filling:
- Blend the softened cream cheese till velvety, then slowly mix in sugar, eggs, vanilla, sour cream, and salt—take a moment to admire how lush the batter is getting.
- Fill and bake:
- Spoon or pipe the batter evenly into each crust, filling nearly to the top; bake until barely set, with the centers still just a little wobbly.
- Final chill:
- Cool them in the pan for ten minutes, then onto a wire rack until they’re room temp—slide them into the fridge for at least half an hour to firm up beautifully.
- Decorate and serve:
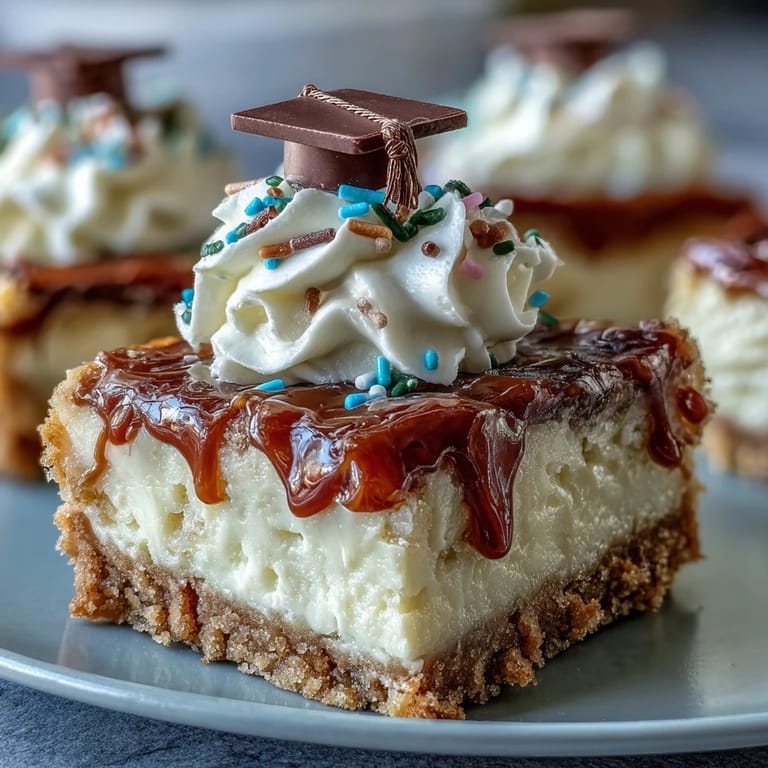
- Right before guests arrive, add dollops of whipped cream and all your favorite festive toppings; cue the camera flashes and the chorus of “just one more.”
 Pin it
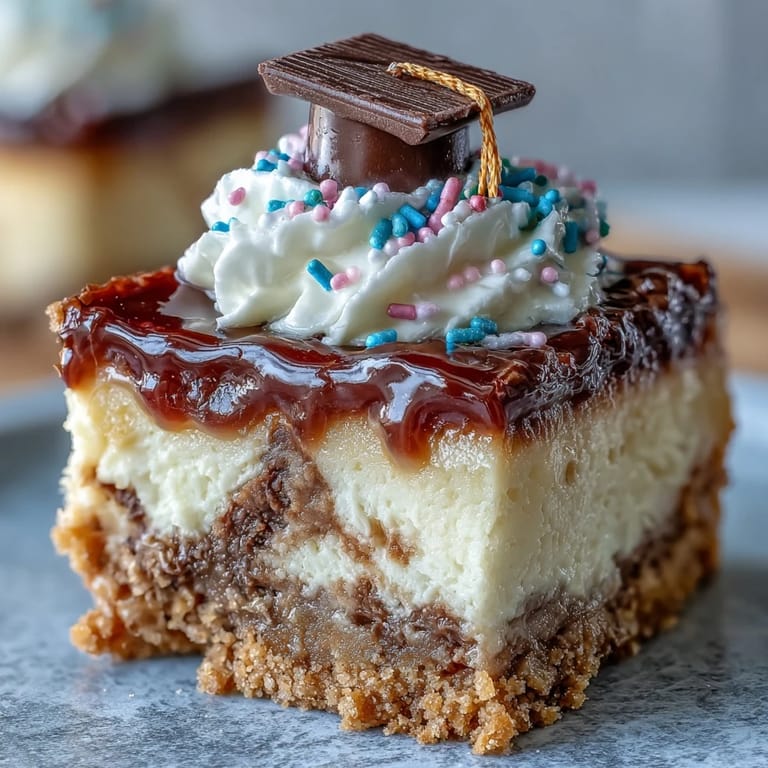
 Watching the last bite disappear from the platter (and the sparkle in my sibling’s eye as she nabbed it) made me realize these little cheesecakes had become our unofficial family party tradition, not just a dessert.
Making It Your Own: Topping Ideas for Every Graduate
I’ve learned to keep a stash of mini chocolate squares and colored sprinkles for those ‘aha’ moments when you want to make each batch personal—it’s amazing how a quick switch in toppings can make every celebration feel just a bit different and a lot more special.
Plan-Ahead Party Success
The biggest gift to your future self is making these bites the night before—waking up party day knowing dessert is already chilling is surprisingly satisfying (just don’t sneak too many for breakfast).
Last Little Tricks for Bite-Sized Cheesecake Perfection
I started using a small cookie scoop to fill the liners and realized it’s not just for cookies—no more drips across the pan. Lining up all the topping decorations ahead of time turns assembly into a satisfying rhythm, especially if you rope in a willing helper for some quick teamwork.
- Resist opening the oven mid-bake or they might crack.
- Try a chocolate cookie crust for an extra decadent twist.
- Let the cheesecakes sit out five minutes before serving so the flavors really shine.
 Pin it
 There’s just something about sharing a tray of these creamy, petite bites that turns any table into a party—here’s to making sweet new memories, one tiny cheesecake at a time.
Questions & Answers
- → How long should I bake the mini cheesecake bites?
Bake at 325°F (160°C) for about 13–15 minutes, or until the centers are just set with a slight jiggle. Overbaking will dry them out, so remove when the edges are set and the middle still trembles.
- → How can I avoid cracks or grainy filling?
Beat cream cheese until smooth and scrape the bowl often. Use room-temperature ingredients, add eggs one at a time, and mix just until combined. Gentle mixing and short baking prevent air pockets and cracking.
- → Can I make a gluten-free crust?
Yes. Substitute graham crackers with certified gluten-free cookie crumbs and check labels on other ingredients. Press and bake the crust the same way for a firm base.
- → How far ahead can I prepare the bites?
Prepare and chill the bites up to 1 day in advance; store covered in the refrigerator. You can freeze unadorned bites for up to 1 month—thaw overnight in the fridge and add toppings before serving.
- → What are good substitutions for sour cream or sugar?
Swap sour cream for plain Greek yogurt for a similar tang and texture. For a slightly less sweet version, reduce granulated sugar a bit or use a fine sugar substitute designed for baking, keeping texture in mind.
- → How do I scale the yield or change pan size?
To double the batch, multiply ingredients and bake in additional 24-cup tins or in batches. For standard 12-cup muffin tins, fill and bake for 18–22 minutes until centers set; monitor closely for doneness.