 Pin it
 There's something about baking a First Communion cake that shifts the whole kitchen into ceremony mode—even if you're wearing flour-dusted jeans and questioning your fondant skills at midnight. My cousin asked me to make hers three days before the big day, and instead of panicking, I found myself genuinely excited about creating something that felt like edible prayer. The vanilla sponge is so tender it practically melts on your tongue, and the buttercream is forgiving enough that even my shaky decorating hands could make it look intentional.
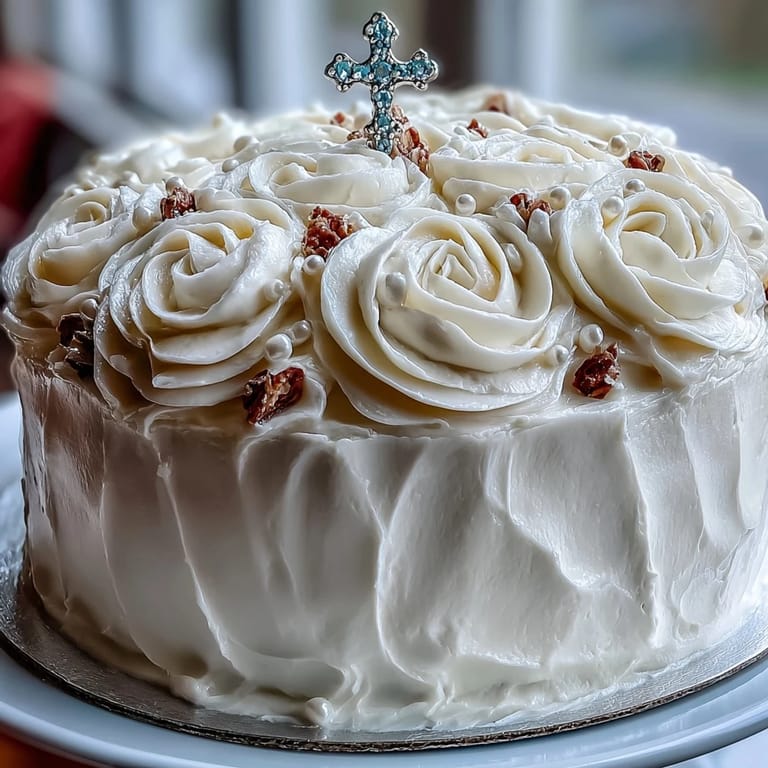
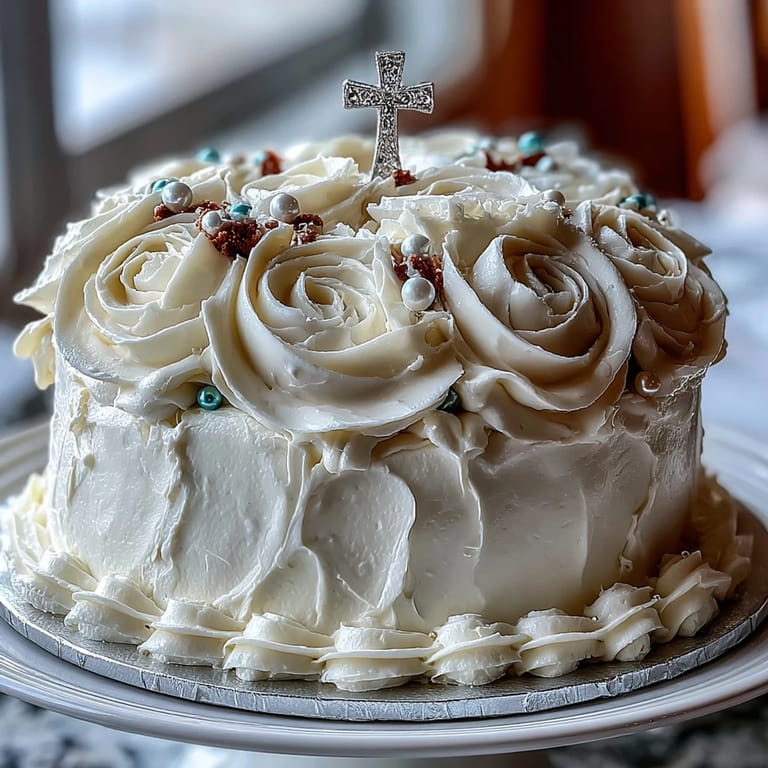
I'll never forget watching my aunt's face when she saw the finished cake sitting on her dining room table—the white roses catching the afternoon light, that delicate cross sitting proud at the center. She actually teared up a little, which made the three hours of work feel like nothing. That moment taught me that celebration cakes aren't really about perfection; they're about showing up with your hands and your heart for someone's important day.
Ingredients
- All-purpose flour (2 ½ cups): Use fresh flour if you can—it makes a noticeable difference in how tender the crumb turns out, and I've learned the hard way that old flour sitting in your cabinet for two years changes everything.
- Baking powder (2 ½ tsp): This is your lift and structure; don't skip it or reduce it thinking the cake will still work.
- Salt (½ tsp): Just a pinch, but it makes the vanilla flavor pop instead of falling flat.
- Unsalted butter (1 cup for sponge, 1 ½ cups for frosting): Room temperature is non-negotiable here—cold butter won't cream properly, and you'll end up with a dense cake or grainy frosting.
- Granulated sugar (2 cups): This sweetens and aerates the batter when creamed with butter, creating that light, fluffy crumb.
- Large eggs (4, room temperature): Cold eggs won't incorporate smoothly; let them sit out for 20 minutes if you forget.
- Pure vanilla extract (1 tbsp for sponge, 2 tsp for frosting): Don't use imitation—the real stuff tastes like comfort tastes like this cake should taste.
- Whole milk (1 cup, room temperature): Alternating it with flour keeps the batter balanced and prevents overmixing.
- Powdered sugar (5 cups, sifted): Sifting removes lumps and makes your frosting silky instead of gritty.
- Heavy cream or whole milk (3–4 tbsp for frosting): Add slowly until you hit the perfect spreading consistency—too thick and it tears the cake layers, too thin and it won't hold shape.
- White fondant (16 oz): This is your canvas for roses and decoration; buy quality fondant or make your own if you're feeling ambitious.
- Green gel food coloring: Gel won't water down fondant the way liquid coloring does, which I learned after one particularly gloomy green leaf disaster.
- Edible pearls or silver dragees: These are optional but they catch light beautifully and add a touch of elegance without much effort.
- Cross-shaped cake topper: This becomes the focal point, so choose one that feels right for the occasion.
Tired of Takeout? 🥡
Get 10 meals you can make faster than delivery arrives. Seriously.
One email. No spam. Unsubscribe anytime.
Instructions
- Preheat and Prepare:
- Turn your oven to 350°F (175°C) and grease those two 8-inch pans generously—I use butter and a little flour, making sure to get into every corner so your cake doesn't stick.
- Mix Your Dry Ingredients:
- Whisk together flour, baking powder, and salt in a medium bowl, making sure there are no lumps hiding in the flour. This step prevents dense spots in your final cake.
- Cream the Butter and Sugar:
- Beat your softened butter with the sugar for about 3 minutes until it looks light, pale, and fluffy—this is where the air gets whipped in that makes the cake tender. Don't rush this step; you'll see the difference when you taste it.
- Add Eggs One at a Time:
- Drop each egg in and beat well before the next one goes in, scraping down the bowl so everything incorporates evenly. This prevents a curdled-looking batter that bakes unevenly.
- Mix in the Vanilla:
- Add your vanilla extract and beat it in for a few seconds. You'll notice the whole mixture smells like comfort.
- Alternate Wet and Dry (This Matters):
- With the mixer on low speed, add a third of your flour mixture, then half the milk, then another third of flour, then the rest of the milk, then the last of the flour. This order prevents overmixing and keeps your cake tender. Mix just until combined—don't over-beat or you'll toughen the gluten.
- Divide and Bake:
- Pour the batter evenly between your prepared pans and smooth the tops gently with a spatula. Bake for 30–35 minutes until a toothpick inserted in the center comes out clean or with just a crumb or two.
- Cool the Cakes:
- Let them cool in the pans for 10 minutes—this gives them time to set and release cleanly—then turn them out onto wire racks to cool completely. Don't rush this; warm cakes will crumble when you try to frost them.
- Make the Buttercream:
- Beat your softened butter until it's creamy and pale, then gradually add the sifted powdered sugar a little at a time, beating constantly so you don't create clouds of sugar. Add vanilla and a pinch of salt, then add milk or cream, one tablespoon at a time, until you reach a smooth, spreadable consistency.
- Level and First Coat:
- If your cake layers domed slightly during baking, trim them level with a serrated knife so they stack evenly. Place one layer on your cake board, spread a thin layer of buttercream on top, then add the second layer.
- Crumb Coat (The Secret Weapon):
- Coat the entire cake with a thin layer of frosting—this seals in crumbs so your final coat is smooth and clean. Chill for 20 minutes; the frosting will firm up and be easier to work with.
- Final Frosting Layer:
- Apply a generous, final layer of buttercream, smoothing it with an offset spatula dipped in warm water. Take your time here; this is what people will see.
- Roll and Shape Your Roses:
- Roll out your white fondant to about 1/8-inch thickness. To make roses, roll tiny balls of fondant, flatten them into petal shapes, then layer them slightly overlapping into a spiral, starting with the smallest petal in the center. It sounds complicated but it's actually pretty forgiving—each rose will have its own character.
- Make Leaves (Optional but Lovely):
- Tint a small piece of fondant green if you want leaves, roll it out thin, and cut leaf shapes with a knife or small cutter. Use a toothpick to add veins for texture.
- Decorate Your Masterpiece:
- Arrange your fondant roses and leaves on the cake however feels right to you—a ring around the top, scattered across one side, or clustered in a bouquet. Add edible pearls or dragees for shimmer if you want that extra touch.
- Place the Cross:
- Position your cross topper at the center or wherever it feels most prominent. This is the final touch that makes it clear what this cake celebrates.
- Chill Until Serving:
- Keep the cake chilled until you're ready to serve it; the buttercream and fondant will stay firm and beautiful.
 Pin it
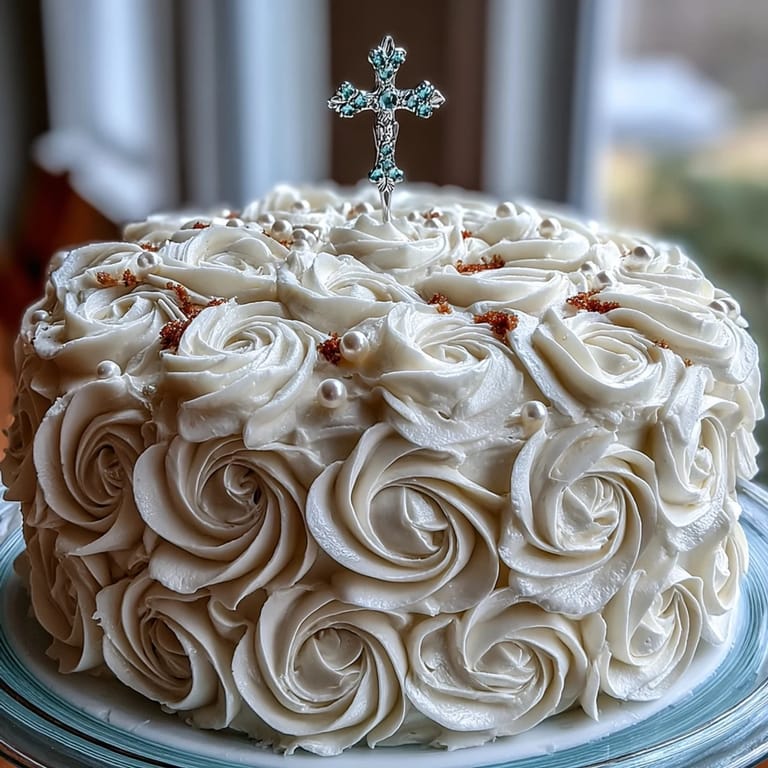
 When I brought that cake to my cousin's First Communion party and watched the children gather around to admire it before dessert time, I realized this wasn't just cake—it was a beautiful marker of a moment in someone's life. The buttercream stayed perfectly smooth, those fondant roses held their shape, and everyone was too happy eating it to notice that one rose was slightly lopsided.
Getting Your Layers Level and Even
The secret to a cake that doesn't look like it grew lopsided in the oven is checking the pans before you pour the batter in—make sure they're sitting on a level surface. If one layer still domes a bit after baking (which is totally normal), a serrated bread knife and a steady hand will trim it flat. I've found that chilling the cake before leveling actually makes the whole process easier because the cake is firmer and less likely to crumble.
The Fondant Rose Technique That Actually Works
The first time I tried to make fondant roses, I watched three YouTube videos and still managed to create what looked like tiny crumpled napkins. But then I realized the magic is in rolling the petal pieces thin enough that they're almost translucent, and in not being afraid to overlap them generously as you spiral them into a rose shape. Work on a clean, dry surface dusted lightly with cornstarch so the fondant doesn't stick, and keep your fingers slightly damp—not wet, just barely damp—so you can smooth edges without leaving fingerprints.
Storage and Make-Ahead Tips
You can bake the cake layers a day or two ahead and wrap them tightly in plastic wrap at room temperature, or freeze them for up to a month. The buttercream can be made up to three days ahead and stored in the fridge in an airtight container; just bring it back to room temperature and re-beat it for a minute to restore its fluffy texture. Fondant roses can be made days in advance and stored in an airtight container in a cool, dry place—they'll actually firm up nicely and be even easier to arrange on the cake. Just assemble and decorate the cake the morning of or the day before serving, and keep it chilled until party time.
- Leftover cake keeps well, wrapped tightly and refrigerated, for up to five days.
- This cake actually tastes better on the second day after the flavors have settled.
- If you're traveling with the cake, decorate it at your destination rather than trying to transport a fully decorated version.
 Pin it
 This cake is proof that you don't need a bakery degree to create something beautiful and meaningful for the people you love. Bake it with care, decorate it with your own hands, and watch how much joy a simple vanilla cake wrapped in white frosting and fondant roses can bring to a celebration.
Questions & Answers
- → What is the best way to achieve a tender vanilla sponge?
Use room temperature eggs and butter, cream them well with sugar, and alternate adding dry ingredients and milk to maintain a light texture.
- → How do you make smooth buttercream frosting?
Beat softened butter until creamy, gradually add sifted powdered sugar and vanilla, then mix in milk or cream one tablespoon at a time until spreading consistency is reached.
- → What techniques are used to create the fondant roses?
Roll small fondant balls flat, shape each into petals, then assemble gently into roses, tinting a bit green for leaves.
- → How can I prevent the cake from drying out during baking?
Avoid overbaking by checking doneness with a toothpick and cool cakes in pans before transferring to wire racks for complete cooling.
- → Can this cake be adapted for gluten-free diets?
Yes, by substituting the all-purpose flour with a 1:1 gluten-free flour blend, the sponge remains tender and delicious.