 Pin it
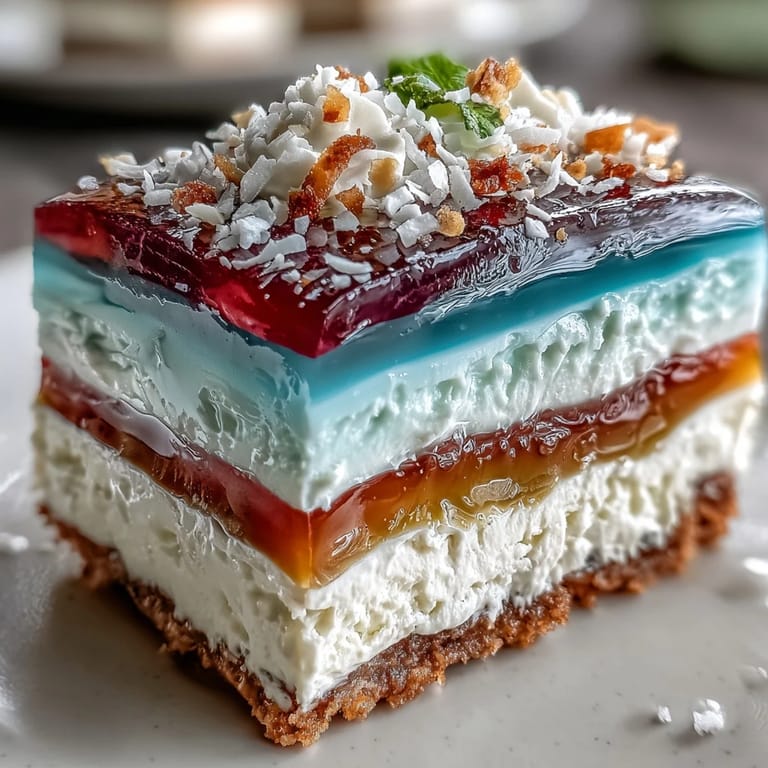
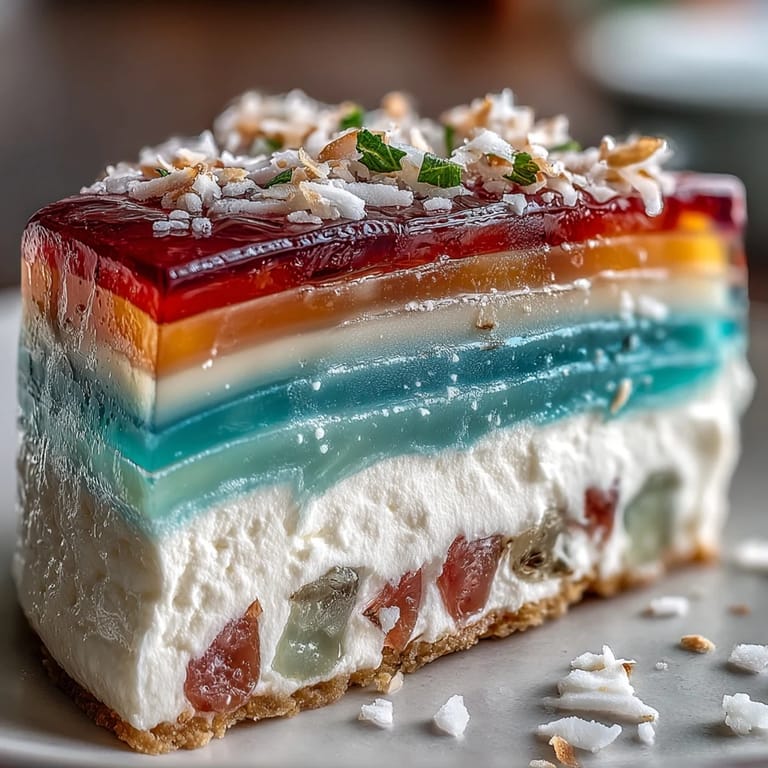
 The first time I made this Agar-Agar Rainbow Jelly Cake, it felt like turning my kitchen into an artist’s studio. The sizzle of agar-agar as it hit the boiling water and the vibrant pops of color swirling in each bowl made for an unexpectedly cheerful afternoon. I wasn’t even sure it would set perfectly the first go—but my curiosity outweighed my doubts. The finished cake glistened so brightly in the fridge that every time I opened the door, it demanded a little smile. Who knew that a few simple layers could bring such a festive spark to a regular weekday?
I once made this cake for my niece’s birthday, and ended up with little hands sneaking tastes between layers as I worked. We watched the colors set, timing each one and giggling if someone poked a layer too soon. By the time we served it, not a single guest could resist reaching for a slice, their excitement matching all the colors inside. That was the first time I realized that dessert could be as much about the process as the result. It became our little tradition each summer after that.
Ingredients
- Water: This is the main base—always use filtered water for the clearest, prettiest layers.
- Agar-agar powder: It’s the magic agent that makes the jelly set—let it fully dissolve before moving on, or you’ll get annoying lumps.
- Granulated sugar: Don’t skimp, as the sugar balances the punchy brightness of fruit juice and food coloring; taste the mixture if you’re adjusting amounts.
- Vanilla extract: Just a splash brings out a gentle aroma that makes the jelly feel homemade and special.
- Gel food coloring: These give you bold, distinct stripes—liquid dyes tend to muddle, so gel is the way to go for striking color.
- Fruit juices: Adding natural juice to each colored layer gives a little surprise on your fork—try mixing and matching for fun combinations.
- Coconut milk (full-fat): The coconut layer is what makes this version creamy and luscious—don’t swap for light coconut unless you want a thinner result.
- Pinch of salt: Never skip it; it sharpens all the flavors and balances the sweetness.
Tired of Takeout? 🥡
Get 10 meals you can make faster than delivery arrives. Seriously.
One email. No spam. Unsubscribe anytime.
Instructions
- Get the Jelly Ready:
- Start by pouring water and agar-agar powder into your saucepan and bring it to a rolling boil, stirring often so the agar-agar dissolves fully—listen for that satisfying bubbling sound.
- Sweeten and Flavor:
- When the powder is gone, stir in the sugar until the liquid goes clear, then take it off the heat and add the vanilla for a cozy aroma.
- Divide and Color:
- Set up six bowls and tip the hot jelly in, evenly dividing; drop in vivid food coloring, swirling each bowl for that eye-popping rainbow, and optionally add juice to each for extra flavor.
- Layer and Chill:
- Pour your first colored layer into a mold—the kitchen fills with sweet, fruity steam—then chill until just set before gently pouring on the next; keep layering and cooling until your rainbow is built.
- Coconut Cream Time:
- In a clean pan, heat coconut milk, agar-agar, sugar, and salt; simmer and whisk until the mixture thickens and smells almost like a tropical breeze.
- Finish and Set:
- Let the coconut cream cool briefly, then pour it over the last set jelly—slide the pan into the fridge and let time (at least 2 hours) do its magic.
- Release and Serve:
- Once firm, loosen the cake with a thin knife, invert onto a plate, and cut into slices—each piece shines with pride.
 Pin it
  Pin it
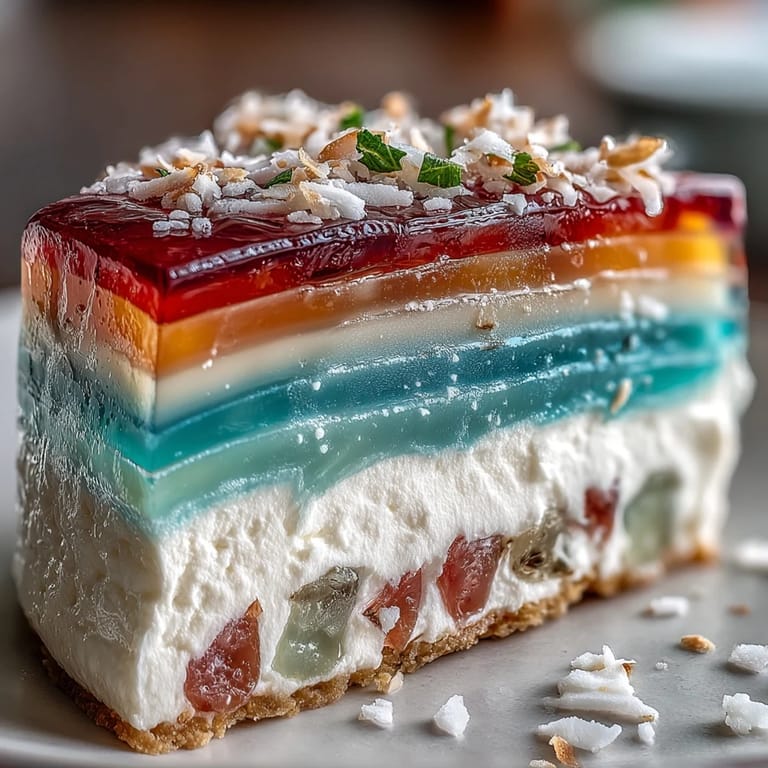
 The first summer I served this at a family BBQ, everyone paused their conversations the second I brought the cake out—suddenly, the table was all smiles, photos, and “how did you do that” questions. For a brief moment, it wasn’t just dessert, it was the star of our gathering. That’s when I realized this cake isn’t just about eating—it’s about delight, surprise, and sharing something a little magical with the people you love.
How Color Choices Affect the Mood
I found that pastel colors feel dreamy and soft, while punchy, saturated shades dial up the party energy. Sometimes I’ll swap in pinks or turquoise just for fun, or let kids pick their palette—it’s impossible not to feel creative when making this. Each color has its own tiny personality, and together, the cake always feels like it was made for the moment.
Making Perfect Layers Without the Stress
Don’t overthink the exact timing—just gently touch the surface to check if it’s set enough (it shouldn’t stick to your finger) before pouring the next layer. If you’re nervous about pouring over, use the back of a spoon to slow the flow and keep layers even. Give yourself a moment to appreciate the almost therapeutic rhythm of pour, chill, repeat. Cleaning up as you go helps prevent the kitchen from looking like a toddler’s playroom by the end.
Fun Ways to Customize for Any Celebration
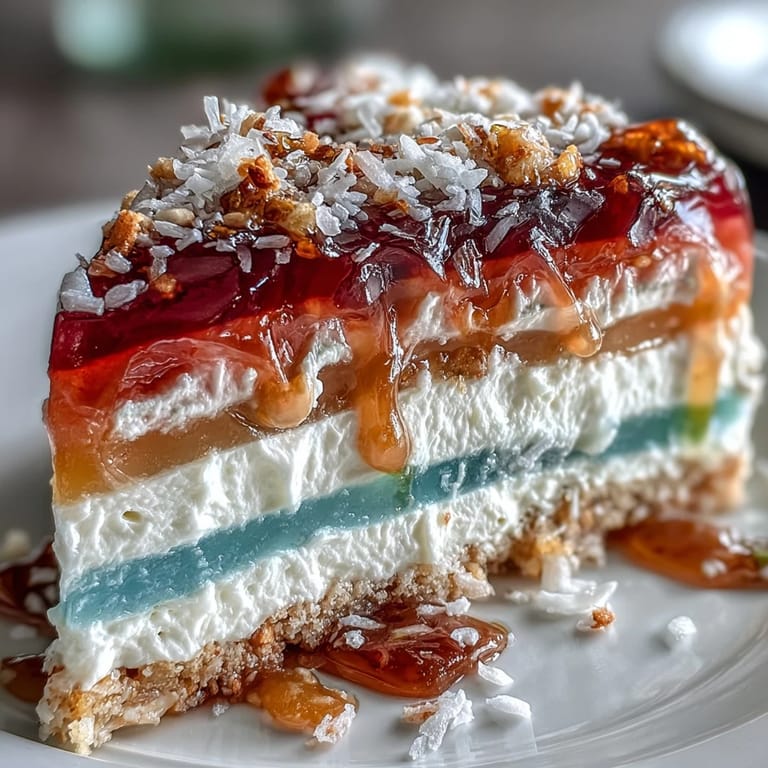
The first time I added chunks of mango and pineapple between layers, the texture turned out surprisingly delightful—a little chew, a little burst of fruit. I’ve even poured the mixture into individual silicone molds for easy party servings, which look adorable lined up on a platter. The only real rule is to have fun with it and not worry about tiny imperfections.
- Add edible flowers for a garden party twist.
- Switch up the fruit juices for a tropical rainbow.
- Cut into geometric shapes for extra flair.
 Pin it
  Pin it
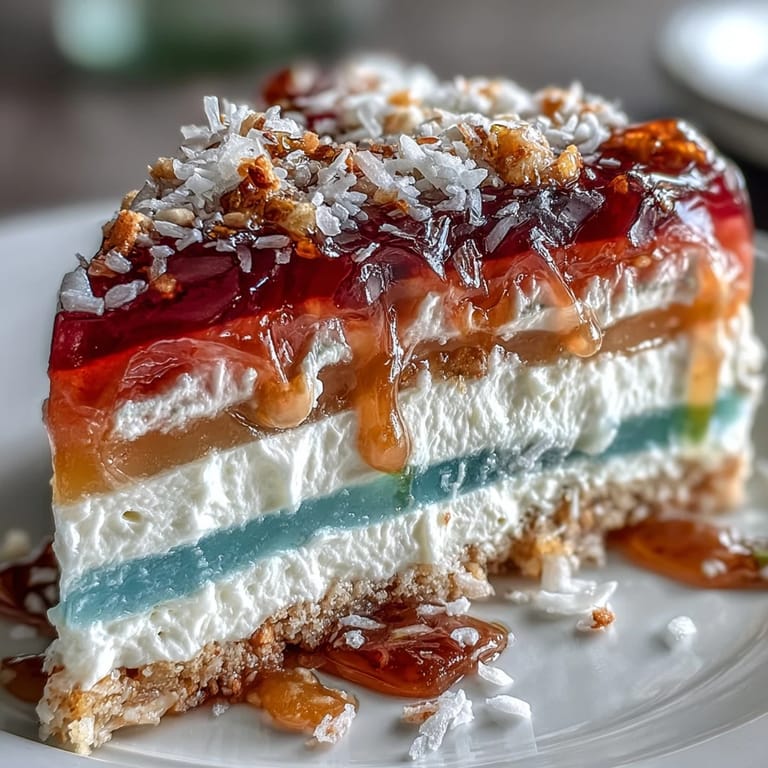
 When you finally slice through the chilled, quivering cake and the layers gleam at you, there’s a small moment that feels like a win. Share it with friends and watch it vanish—cheerful bites and all.
Questions & Answers
- → How long should each colored layer set before adding the next?
Chill each pour about 10–12 minutes at a time; the surface should feel set and not sticky. Pour the next layer gently to avoid disturbing the one beneath.
- → Can I use fruit juice instead of water for the colored layers?
Yes. Replace up to 1/2 cup of the water per color with clear fruit juice for added flavor; reduce sugar slightly if the juice is sweet.
- → How do I prevent colors from bleeding between layers?
Ensure each layer is just set—firm at the surface but still slightly warm—before pouring the next. Use a low stream and pour over the back of a spoon for gentler placement.
- → What is the best way to make the coconut cream top without curdling?
Simmer full-fat coconut milk with the measured agar-agar and sugar for 2–3 minutes until dissolved, then cool 3–5 minutes before pouring so it flows without melting lower layers.
- → How should the finished cake be stored and how long will it keep?
Cover and refrigerate the set cake; it keeps well for 3–4 days. Keep away from strong odors and serve chilled for best texture.
- → Any tips for adapting for allergies or texture variations?
Substitute other plant-based milks for coconut if needed, adjusting sweetness. Add diced fruit between layers for texture or use silicone molds for individual portions.